Contents
- 1 What is the children’s book illustration process?
- 2 What are the elements of creating a children’s book illustration?
- 3 Final art
- 4 Tips for illustrating children’s books
- 4.0.0.1 Activities to Celebrate Mother’s Day Together
- 4.0.0.2 20 Mother’s Day Messages Unique to Show Mom You Care
- 4.0.0.3 Top 20 Creative Mother’s Day Gift Ideas
- 4.0.0.4 Brand Identity in POD: Crafting Your Unique Style
- 4.0.0.5 Photoshop Text Effects
- 4.0.0.6 These 10+ Free Embroidery Patterns for Your Business
What is the children’s book illustration process?
When it comes to illustrating a children’s book, each illustrator has their own unique approach. Some artists transition directly from a rough sketch to a final piece of art. Others follow a more extensive illustration process, involving multiple stages such as character sketches, thumbnail sketches, rough sketches, line art (or pencil art), rough colors, and final art. When hiring an illustrator, inquire about the number of art stages included and the allowed revisions at each stage as specified in the contract. If you need more guidance on hiring an illustrator, you can refer to “How to Hire an Illustrator for a Children’s Book.” Additionally, understanding the type of art required—whether it’s spot art, vignettes, single-page images, or full-bleed spreads—provides valuable information for the illustrator’s workload and ultimately affects the overall illustration cost of the book.
What are the elements of creating a children’s book illustration?
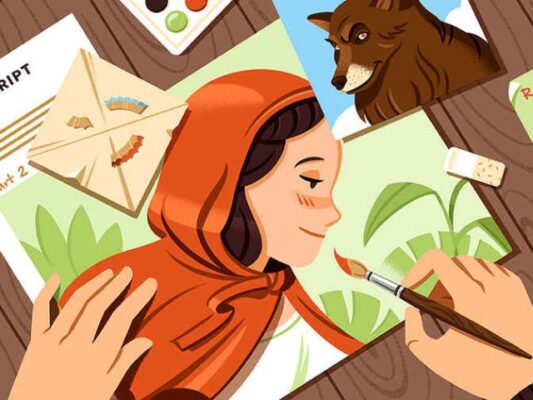
Character sketches
“Character sketches may start out rough and get refined, or they may be refined from the start. Either way, the character sketch is the author’s chance to make changes to how a character looks.” – Children’s Book Editorial Services

The first step in illustrating a children’s book is to create a character sketch. This is where an author can provide an illustrator with any art notes or suggestions about what the character should look like.
Questions such as “What color is their skin?”, “How do they wear their hair?”, “Do they have buck teeth or a big gap in their teeth?”, “What does their clothing look like?”, and “Is there something about your character that impacts how they move?” are important in nailing who your character is.
For a children’s book, character sketches are a key part of character development. So much of what children think about a character is based on how they look.
Thumbnail sketches
Thumbnail sketches represent the most basic form of illustration, often resembling little more than a collection of swirly lines. The positive aspect is that thumbnails aren’t intended for art review, so their appearance isn’t the primary concern. The crucial factor is their placement.
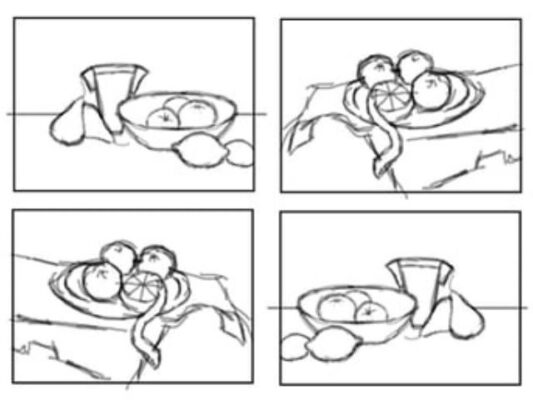
Thumbnail sketches are commonly arranged into a storyboard, serving as a visual depiction of the book layout. Constructing a thumbnail storyboard aids the artist in determining story pacing: the placement of page turns, how text fits on the page, and whether a page should feature full-bleed art, vignette art, or a spot art piece. This art is referred to as a “thumbnail” because it is often inserted into the book layout at a very small size—roughly equivalent to the size of a thumbnail.
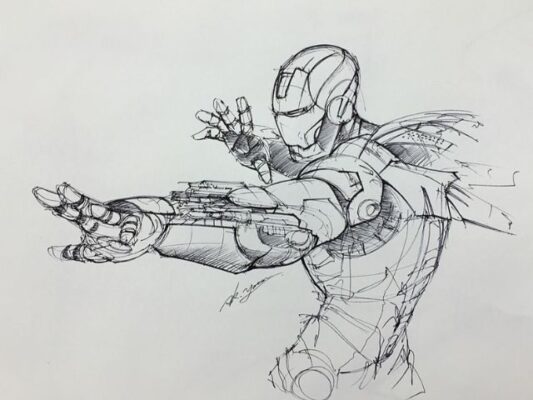
Rough sketches
Having established a basic idea of page layout, the next step is to progress to story illustration. Most artists initiate this stage with what is commonly known as a rough sketch. This involves a preliminary drawing of the characters and background scenes. A rough sketch allows an illustrator to assess how the design elements fit on the page. Rough sketches are seldom refined; the objective is not to scrutinize every detail of the characters or background but to grasp the overall picture. Questions arise such as whether the text fits, if the characters interact in a suitable manner, if the scene is captivating enough, and, in the context of a children’s book with many moments unfolding in the same location, whether the scene provides ample differentiation from the surrounding pages.
Line art
Line art, also known as pencil sketches, is the stage where scenes and characters undergo refinement. The illustrations become more polished, offering a precise depiction of how a page will appear in the final art.
As an author, the line art stage represents the final opportunity to make any significant changes to the illustrations. It’s also the moment to focus on finer details. Are the expressions on the characters’ faces conveying the intended emotions? Are their eyes properly oriented? Does their attire remain consistent from page to page? What about their hair—is it styled consistently across different pages? Is there anything in the background scene that appears off? Pay careful attention and request changes now because once the illustrator proceeds to rough color, the art will be finalized.
Rough color
With the page layout and illustrations finalized, some artists proceed to the final art stage, while others move on to rough color art. Rough color is an opportunity for the artist to experiment with page colors without delving too deeply into refining them. During this stage, there are no intricate highlights on the characters, and the sky might not showcase various shades of blue but rather a single hue. The purpose of this stage is to provide a final glimpse of the page before the creation of the actual final art.
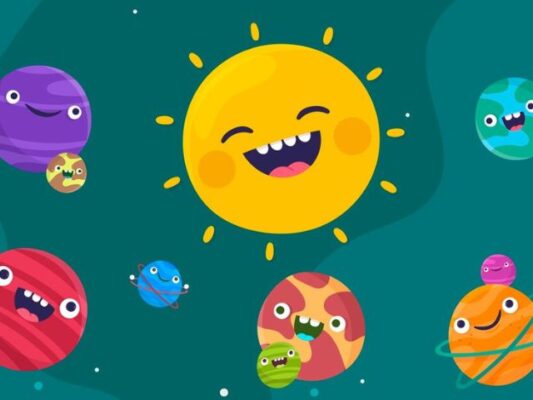
As an author, this is the moment to provide input on the colors being used. If you dislike the wallpaper in the background, express your concerns. Wishing the character’s hair were a few shades lighter? Now is the time to mention it. This stage is dedicated to identifying any issues with the colors and addressing them before the illustrator applies the finishing touches. It’s also an excellent opportunity to ensure that the text will be legible against the background!
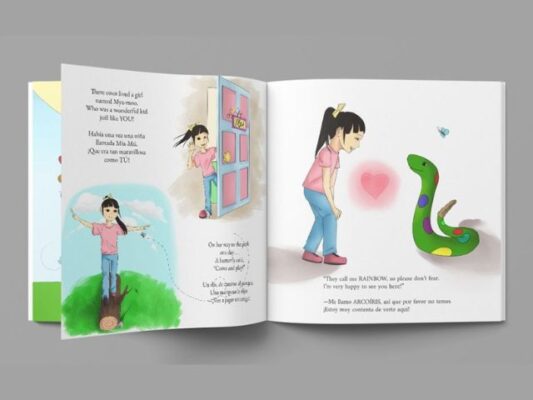
Final art
The concluding stage of book illustration is the final art. This is precisely what it sounds like: a definitive piece of art, delivered and ready for book layout!
Tips for illustrating children’s books
- Practice. Practice. Practice
- Seek Advice and Opinions
- Develop your own style and stick to it.
- Understand what an illustration is.
- Decide on a colour palette.
- Create a Storyboard
- Create a rough sketch then refine it before inking.
- Paint it!
- Scan the image
“When I decided that I wanted to create a storybook for my grandchildren I found that, despite being a successful artist, I was pretty much hopeless at illustrating. My first attempts were not great. But, I persevered and did a lot of research, and kept at it. It didn’t take long before I began to understand how illustrations were put together.”- Awberyart
Related post