
In the realm of graphic design, Photoshop Text Effects wield immense power, transforming simple text into captivating visual elements. With just a few clicks, designers can imbue their typography with personality, flair, and creativity. In this brief exploration, we’ll uncover the magic of Photoshop Text Effects, offering insights and tips to enhance your designs effortlessly. Whether you’re a novice or an expert, let’s embark on a journey to unleash the full potential of your typography in Photoshop.
Photoshop Text Effects
Step 1: Setting Up the Canvas
Begin by creating a new blank file in Photoshop Elements. Name the file “Kids” and set the dimensions to U.S. Paper size (Letter) with an RGB color mode. This will serve as our canvas for the text effect.
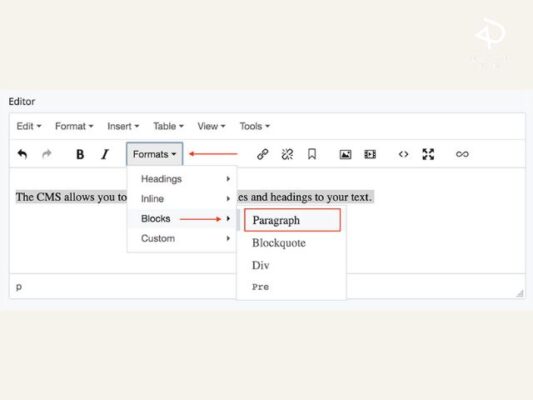
Step 2: Adding and Formatting Text
Using the Type tool, select a bold font like Arial Black or Arial Bold, and set the font size to 100. Type “KIDS” in all caps at the center of the canvas. Ensure the text color is set to white.
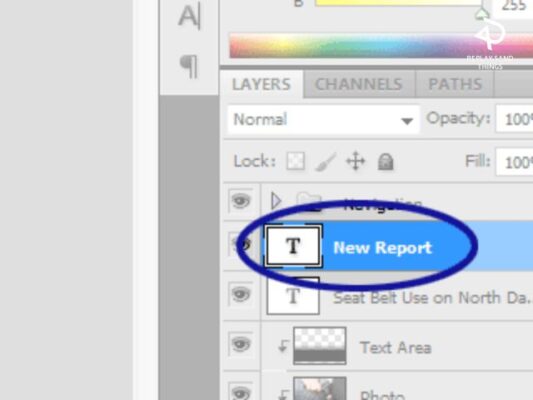
Step 3: Positioning and Merging Layers
With the Move tool, position the text layer in the center of the canvas. Merge the text layer with the background layer by selecting both layers and using the Merge Layers command.
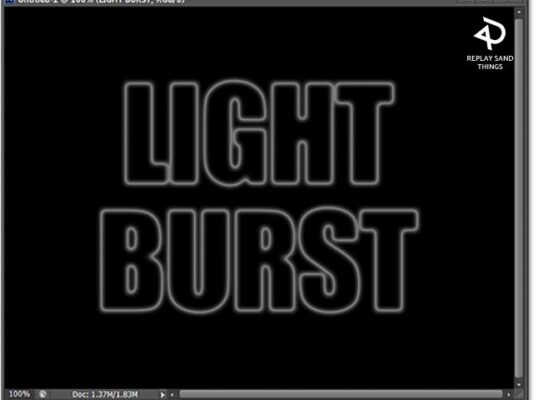
Step 4: Applying Filters
Blur the merged layer using the Gaussian Blur filter to create a soft edge effect. Next, apply the Solarize filter to create an outline around the text.
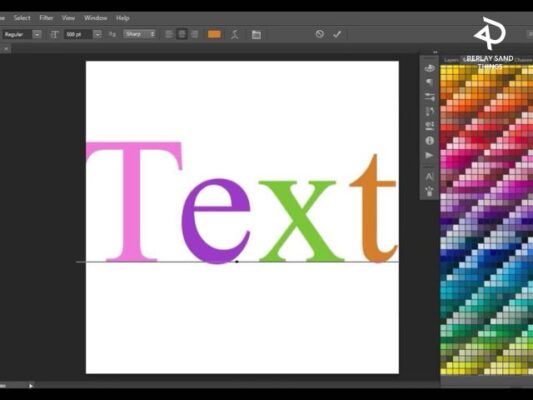
Step 5: Adding Color
Adjust the hue and saturation of the outline using the Adjust Hue/Saturation command. This will give the outline a vibrant color, such as red, to make it pop.
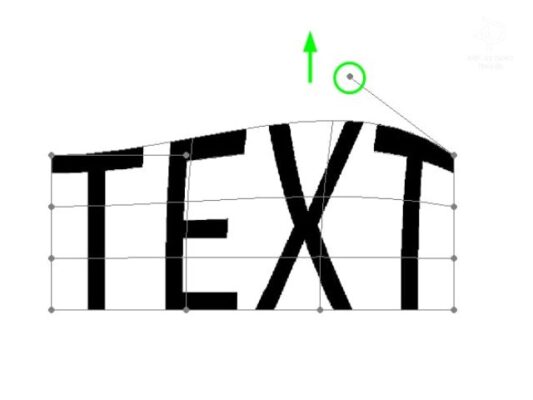
Step 6: Distorting the Text
Apply the Polar Coordinates filter to distort the text into a circular shape. This will enhance the zooming effect.
Step 7: Simulating Motion
Use the Wind filter to simulate a motion trail behind the text. This will further enhance the illusion of movement.
Step 8: Final Touches
Rotate the canvas to the desired orientation and crop the image to remove any excess space. Save your work, and admire the dynamic text effect you’ve created!
Expanding the Project
Once you’ve mastered the basic text effect, feel free to experiment further. Add images to complement the text, play with blending modes and layer effects, or explore additional filters to enhance the overall composition. The possibilities are endless, so let your creativity soar!
By following this tutorial, you’ll not only learn valuable techniques for creating captivating text effects but also gain a deeper understanding of Photoshop Elements’ powerful features. So, unleash your imagination and start crafting stunning visual designs today!
Conclusion
In conclusion, mastering text effects in Photoshop Elements opens up a realm of creativity and possibilities for designers of all levels. By following the steps outlined in this tutorial, you’ve learned how to transform ordinary text into captivating visual elements that command attention. With practice and experimentation, you can continue to refine your skills and create stunning designs that leave a lasting impression. So, embrace the power of Photoshop Elements’ text effects, and let your imagination soar as you explore the endless potential of digital design.
Related Post
These 10+ Free Embroidery Patterns for Your Business
10+ Elevate Your Brand with Fashion Fonts
Mastering Design Cartoon Character Essentials