
Prepare to amplify your crafting projects with the versatile capabilities of your Silhouette cutting machine for Cricut image cutting. While traditionally associated solely with its proprietary designs, the Silhouette presents an expansive platform for pushing the boundaries of creativity. In this comprehensive exploration, we’ll delve into the intricacies of leveraging your Silhouette for precise cuts on Cricut images, seamlessly combining the strengths of these two crafting powerhouses. Whether you’re an experienced crafting enthusiast or just embarking on your creative journey, mastering the technique of using your Silhouette for Cricut images unlocks a realm of innovative possibilities. Let’s embark on a journey to harness the full potential of your Silhouette and elevate your crafting endeavors to new heights.
Contents
Step-by-Step Guide: Use Your Silhouette for Cricut Image Cutting
Supplies Needed
- Silhouette cutting machine
- Black cardstock
- Picture frame and mat
- Adhesive
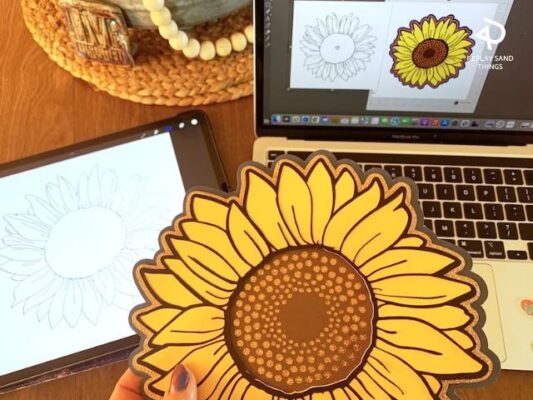
Step 1: Transform Your Photo into a Silhouette
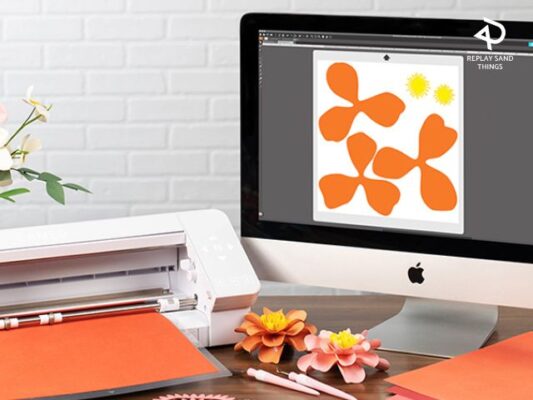
- Open Cricut Design Space and select “upload” from the menu.
- Choose your image, preferably with the subject against a plain background. Use the “complex” option if necessary.
- Utilize the “select and erase” tool to remove the background, refining with the eraser tool if needed.
- Preview your silhouette and make necessary refinements.
- Once satisfied, click “continue” and save as a cut image. Repeat for all desired pictures.
Step 2: Cut and Assemble the Silhouette Portrait
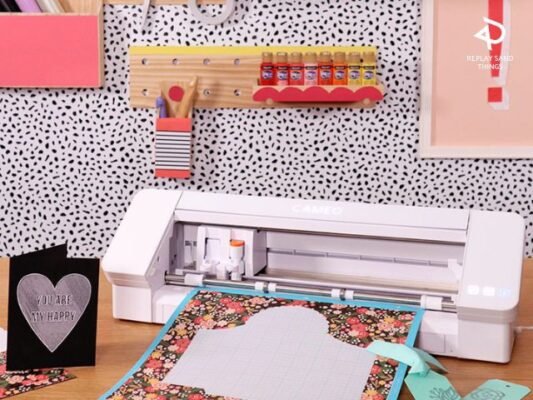
- Cut the silhouettes from black cardstock using your Silhouette machine.
- Prepare your frame and mat, either by painting them or purchasing new ones.
- Adhere each silhouette to a piece of white cardstock for contrast.
- Arrange and frame your silhouettes as desired.
Conclusion
In harnessing the capabilities of your Silhouette for Cricut image cutting, you’ve opened up a realm of creative possibilities that transcend traditional crafting boundaries. By seamlessly merging the strengths of these two crafting powerhouses, you’ve unlocked the potential to transform ordinary projects into extraordinary works of art. Whether you’re a seasoned crafting enthusiast or just beginning your creative journey, the technique of using your Silhouette for Cricut images offers a pathway to innovation and expression.
As you continue to explore and refine your skills, remember that the journey of crafting is as enriching as the finished product. Embrace the versatility and precision of your Silhouette, and let your imagination soar as you bring your creative visions to life. Whether you’re crafting for personal pleasure or sharing your creations with others, the joy and satisfaction derived from your crafting endeavors are boundless.
So, as you bid farewell to this guide, carry forward the knowledge and inspiration gained, and continue to push the boundaries of what’s possible with your Silhouette. Let your passion for crafting fuel your creativity, and may your future projects be filled with beauty, innovation, and endless possibilities. Happy crafting! 🌟
Related Post
Custom Designs with 3D Printed Embossing Plates
Creating 3D Printed from SVG Files: A Step-by-Step Guide
7 Anime Room Decor Ideas for Your Room