
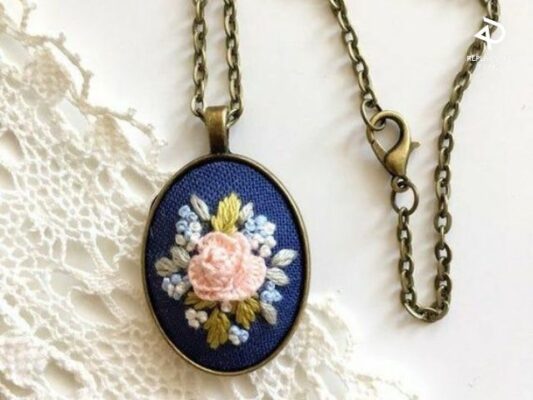
Embroidered necklaces offer a unique blend of style and craftsmanship, making them standout accessories in any jewelry collection. In this step-by-step guide, we’ll explore the art of creating your own embroidered necklace, from selecting materials to mastering embroidery techniques. Whether you’re a beginner eager to learn or a seasoned crafter looking for new inspiration, join us as we embark on this creative journey. Let’s unravel the intricacies of crafting a stunning embroidered necklace, one step at a time.
Contents
Materials Required
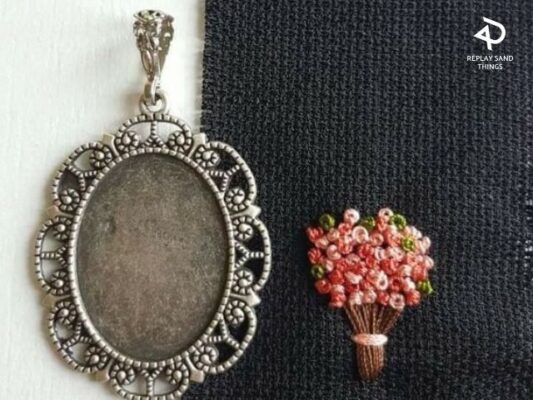
Metal Necklace Pendant
Choose one that matches your style preference.
Necklace Chain
Ensure it complements your pendant.
Thin Cardboard
Recycle a piece from a cereal box for stability.
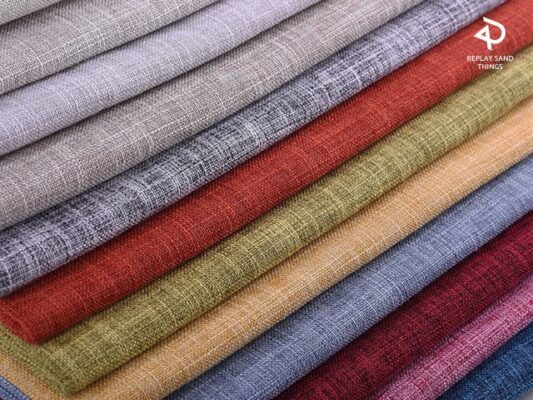
Fabric
Select fabric that complements your design.
Embroidery Floss
Choose colors that enhance your pendant.
Needle
A basic embroidery needle is sufficient.
Scissors
For trimming threads and fabric.
Pencil
To sketch your design.

Small Embroidery Hoop
Keeps your fabric taut during stitching.
Strong Glue
Gorilla Glue is recommended for secure attachment.
Hot Glue Gun
Necessary for fixing the pendant components.
Clamps
Use binder clips or clothespins to hold the pendant in place during assembly.
Step-by-Step: Making an Embroidered Necklace
Prepare the Pendant Components
- Trace your pendant shape onto the cardboard and cut it slightly smaller.
- Ensure the cardboard fits snugly inside the pendant.
- Place the cardboard on your fabric and mark the edges.
- Draw a line about 1/4 inch away from the cardboard’s edge.
- Set the cardboard aside for later use.

Design Your Pendant
- Sketch a heart (or any preferred shape) in the center of your fabric circle.
- Refer to earlier markings for accurate sizing.
Let’s Embroider Your Design
- Secure your fabric in the embroidery hoop.
- Use basic embroidery stitches to bring your design to life.
- Feel free to experiment with different stitch patterns for added texture and detail.
Assemble the Pendant
- Apply strong glue to the inner walls of the pendant.
- Press the fabric-covered cardboard into the pendant, ensuring a secure fit.
- Utilize clamps or weighted objects to hold the pendant in place while the glue sets.
- Once dry, attach the pendant to your chosen necklace chain using a hot glue gun.
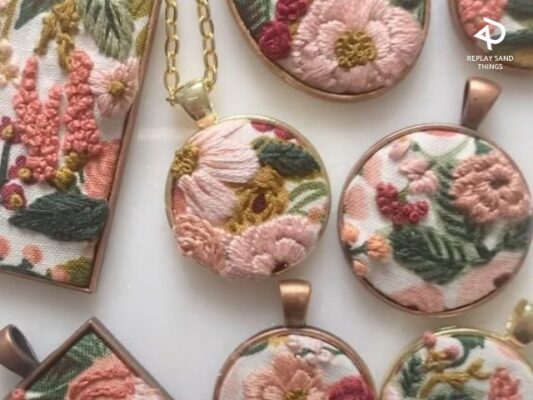
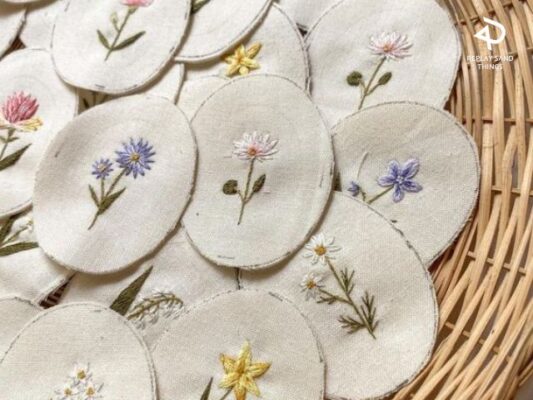
With these steps completed, your personalized embroidered necklace pendant is ready to adorn or share as a thoughtful gift. Enjoy the creative process and the satisfaction of wearing your unique accessory! In addition to embroidering basic decorative motifs such as flowers, animals… you can embroider letters with unique fonts on your Embroidered Necklace to create a highlight.
Conclusion
Remember, don’t be afraid to experiment with different shapes, designs, and stitches to make your necklace truly unique. Whether you’re creating a gift for a loved one or adding a new piece to your own jewelry collection, the handmade touch of an embroidered pendant adds a special charm.
We hope you’ve enjoyed this journey of crafting and exploring the art of embroidery. Wear your finished necklace pendant with pride, knowing that it’s a reflection of your creativity and skill.
Related Post
Elevate Your Designs: 15 Free Fonts for Commercial Use
10 Fonts Inspired Outdoor Fonts for Nature Lovers
Diverse Readers: Celebrating National Reading Month